Step-by-Step Guide: Using High Temperature Epoxy Adhesive Glue for Metal Bonding
Step-by-Step Guide: Using High Temperature Epoxy Adhesive Glue for Metal Bonding
When it comes to bonding metal surfaces, the right adhesive makes all the difference. High temperature epoxy adhesive glue is a champ at handling extreme heat and provides top-notch adhesion for metal bonding projects. Whether you’re tinkering in your garage or handling a professional job, knowing how to use this glue correctly is key.
In this guide, we’ll walk you through using high temperature epoxy adhesive glue for metal bonding. We’ll cover everything from prepping the surface to making sure the glue cures properly, ensuring your bond can handle the heat and tough conditions.
Preparing the Metal Surface for Bonding
Before you get glue-happy, make sure your metal surface is ready to form a strong, long-lasting bond. Start with a thorough cleaning. Any dirt, grease, or oil needs to go. Use a suitable solvent or degreaser to make the surface squeaky clean. This ensures the glue sticks properly and isn’t messed up by any gunk.
Once it’s clean, it’s time to rough up the surface. A bit of sanding creates a texture that really grabs onto the adhesive. Use sandpaper or a sanding block to evenly scuff up the entire area you plan to bond.
Got rust? Get rid of it. Use a wire brush or rust-specific sandpaper to scrub away any corrosion. This step is vital; rust could sabotage the bond, weakening the adhesive’s strength.
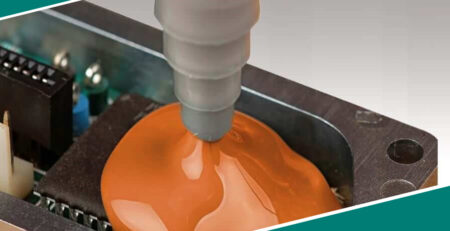
Mixing the High Temperature Epoxy Adhesive Glue
Mixing your glue correctly is crucial for a solid bond. High temperature epoxy adhesives usually come in two parts: resin and hardener. You need to mix these in just the right ratio to kickstart the adhesive magic.
Start by putting equal amounts of resin and hardener on a clean mixing surface or container. Use a clean plastic spatula or wooden stick for mixing to avoid any contaminants that could mess with the cure.
Stir them together thoroughly. Make sure you get a uniform mixture without any streaks. Unmixed spots could lead to weak spots in the bond.
Keep an eye on the clock. High temperature epoxy adhesive has a set time when it’s still workable. Once mixed, you’ve got a limited window to apply it before it starts setting. Make sure you stick to the manufacturer’s instructions on mixing ratios and times. Straying from these could weaken the bond.
Also, check the consistency. Some adhesives might need a bit of thinning or thickening, depending on the job. Stick to the manufacturer’s guidelines here to get the best results.
So, there you have it! With these steps, you’re ready to tackle any metal bonding project with confidence. Just remember to keep things clean, mix carefully, and apply promptly. Your metal won’t know what hit it!
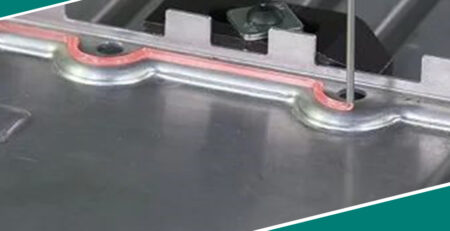
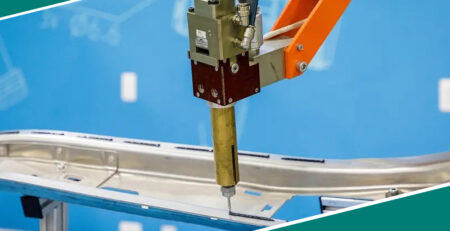
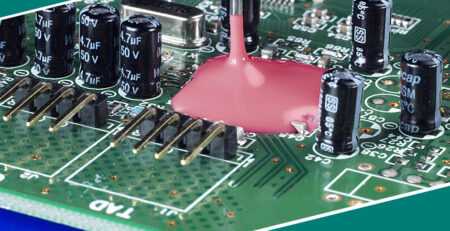
Applying the High Temperature Epoxy Adhesive Glue to the Metal Surface
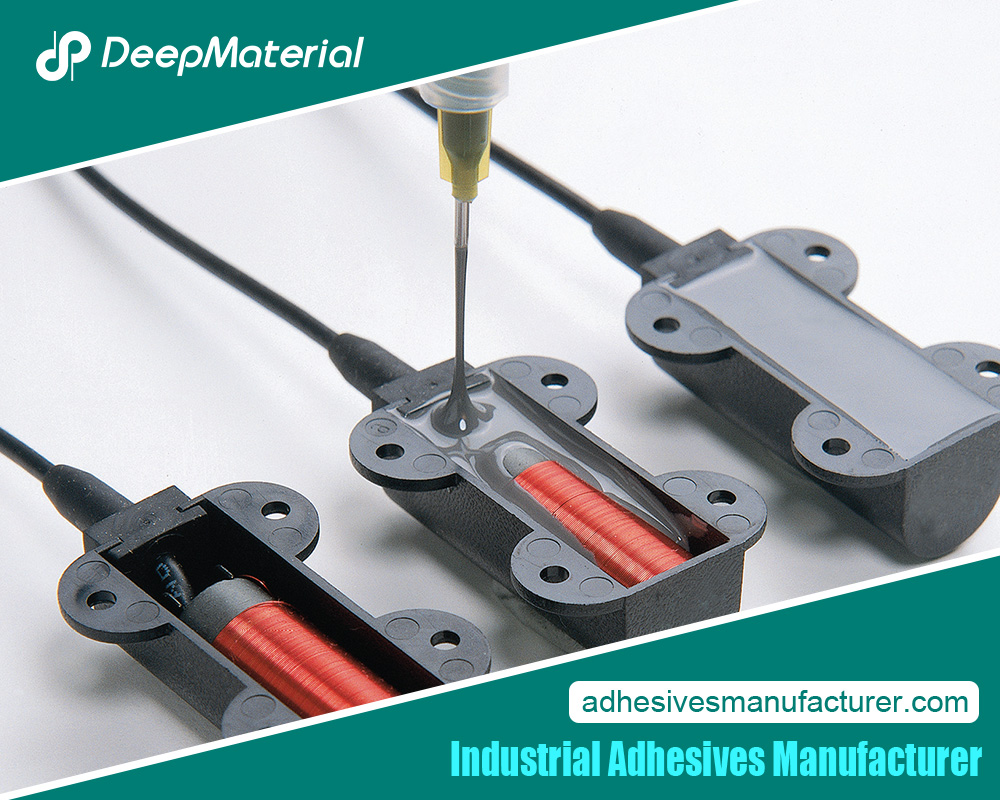
Applying high-temperature epoxy adhesive glue to metal requires careful attention to ensure an even and consistent bond. There are several techniques to achieve optimal results.
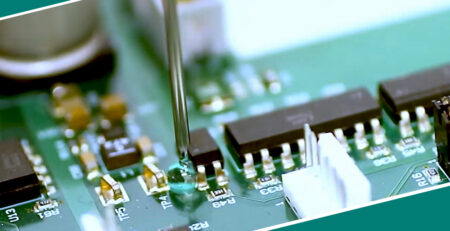
One method is using a brush or a spatula. This allows precise control over the amount of glue applied. Make sure to spread the glue evenly, covering all areas.
You could also use a notched trowel or a serrated spreader to create ridges or grooves in the glue. This increases the surface area of contact between the adhesive and the metal, which improves adhesion and helps prevent air bubbles or gaps.
When applying the glue, avoid using too much force, as this could squeeze out too much adhesive or cause uneven distribution. Apply gentle and consistent pressure to ensure proper coverage.
To prevent air bubbles or gaps, work in small sections and apply the glue in thin layers. This allows for better control and minimizes the risk of trapped air. Try not to overwork the glue, as too much manipulation can introduce air bubbles or disrupt the bond.
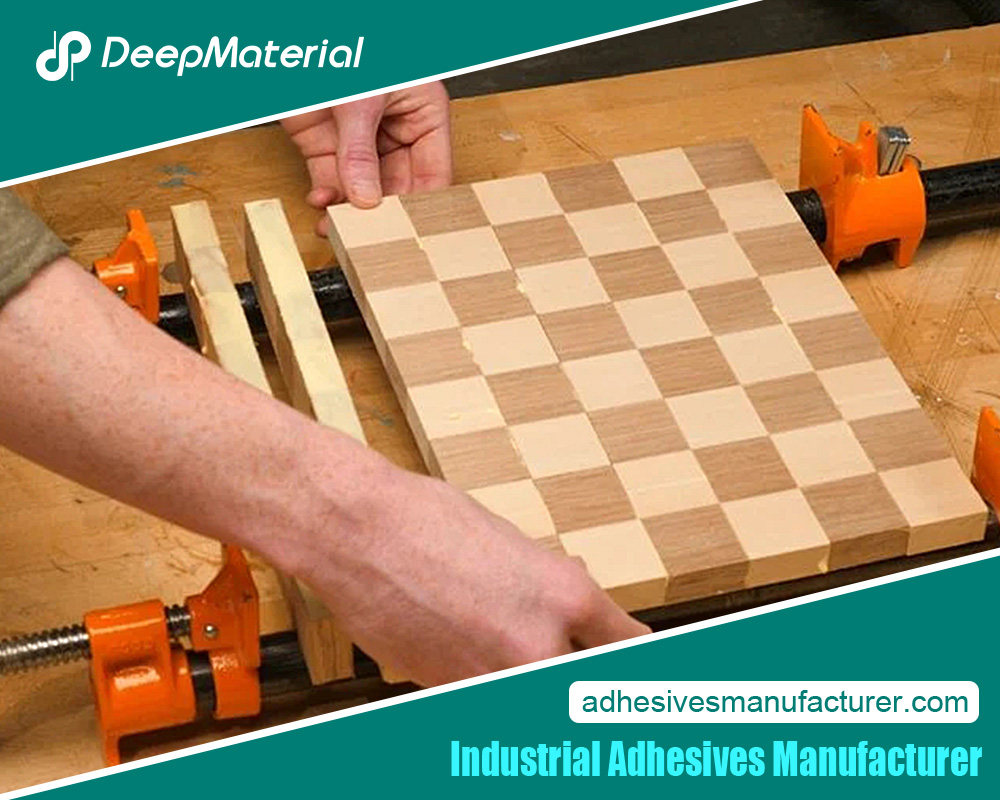
Clamping the Metal Pieces Together
Clamping the metal pieces is crucial for a strong and durable bond with high-temperature epoxy adhesive glue. Clamping ensures the adhesive is evenly distributed and the metal surfaces are firmly held together during the curing process.
Clamping is important because it prevents any movement or shifting of the metal pieces that could weaken the bond. It also maintains consistent pressure on the adhesive, ensuring optimal contact between the metal surfaces.
Choose the right clamps for the job, considering the size and shape of the metal pieces. Options include C-clamps, bar clamps, or spring clamps, each suitable for different applications. Make sure the clamps provide enough pressure to hold the metal pieces together without causing damage.
During clamping, ensure the metal pieces are aligned properly and there are no gaps or misalignments. Misalignment can lead to a weak bond or compromised structural integrity.
Follow the manufacturer’s instructions regarding the duration of clamping. Some adhesives may only need a short clamping time, while others might require several hours or even overnight.
Curing the High Temperature Epoxy Adhesive Glue
Curing transforms the high-temperature epoxy adhesive glue from a liquid to a solid state, creating a strong bond between metal surfaces. The curing time varies by adhesive and can range from a few minutes to several hours.
Curing time can be affected by temperature, humidity, and adhesive layer thickness. Higher temperatures generally speed up the process, while lower temperatures slow it down. Ensure the curing environment is within the manufacturer’s recommended temperature range.
Humidity can also impact curing time. Higher humidity can prolong it, while lower humidity might speed it up. Consider the ambient humidity when planning the curing time.
Thicker adhesive layers may require more time to cure completely. Follow the manufacturer’s instructions on the maximum recommended adhesive thickness for proper curing.
During curing, avoid moving or disturbing the bonded metal pieces. Any movement can disrupt the bond and weaken its strength. Keep the metal pieces stable and undisturbed until the adhesive has fully cured.
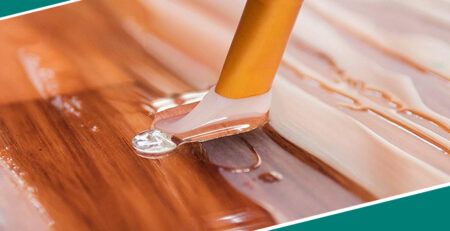
Sanding and Finishing the Bonded Metal Surface
After curing, sand and finish the bonded metal surface to achieve a smooth and polished appearance. Sanding removes excess adhesive and imperfections, while finishing adds a protective layer and enhances aesthetics.
Start with coarse-grit sandpaper to remove excess adhesive and smooth out uneven areas. Sand gently and evenly to avoid damaging the metal. Progress to finer-grit sandpaper for a smoother finish, cleaning the surface between each sanding step.
Choose a suitable finishing product based on your project’s needs—options include clear coats, paints, or protective coatings. Follow the manufacturer’s instructions on application techniques and drying times. Apply thin, even coats, allowing each to dry completely before the next.
Final Thoughts
In conclusion, using high-temperature epoxy adhesive glue for metal bonding is a reliable and effective method. By properly preparing the surfaces, mixing the epoxy correctly, and applying it evenly, you can ensure a strong and durable bond. Consider the temperature resistance of the epoxy to ensure it can withstand high temperatures without compromising the bond.
High-temperature epoxy adhesive glue is versatile and suitable for various industries, including automotive, aerospace, and manufacturing.
For more about a complete guide to industrial adhesive manufacturers and their products, you can pay a visit to Deepmaterial at https://www.adhesivesmanufacturer.com/ for more info.